Linux ETC
Proftp 설치 및 xinetd 에서 실행하기
2015.09.18 15:19
1. proftp 설치
- 다운로드 : ftp://ftp.proftpd.org/distrib/source/proftpd-1.3.5a.tar.gz
- 명령어
cd /usr/local/src wget ftp://ftp.proftpd.org/distrib/source/proftpd-1.3.5a.tar.gz tar xvfz proftpd-1.3.5a.tar.gz cd proftpd-1.3.5a ./configure --prefix=/usr/local/proftpd --enable-auto-shadow make make install |
2. proftpd.conf 설정
vi /usr/local/proftpd/etc/proftpd.conf #ServerType standalone <= xinetd 데몬을 이용할 것이기때문에 아래와 같이 사용 ServerType inetd #MaxInstances 30 <= xinetd 파일에서 설정을 할 것이므로 주석처리 # Set the user and group under which the server will run. #User nobody <= User 와 Group 은 주석처리 후 아래와 같이 설정 #Group nogroup # Set the user and group under which the server will run. User nobody Group nobody #<Anonymous ~ftp> User ftp <= 익명 접속을 허용하지 않을 것이므로 주석처리 Group ftp #<Anonymous ~ftp> # User ftp # Group ftp 이후 내용들을 보면 대부분이 Anonymous 관련된 내용이므로 Anonymous 를 허용하지 않으려면 모두 주석처리를 하면 된다. |
3. xinetd 에 proftpd 설정하기
- 먼저 xinetd 데몬이 설치 되어 있는지 확인한다.
- xinetd 데몬이 설치 되어 있지 않으면 yum 으로 xinetd 데몬을 설치 하도록 한다.
vi /etc/xinetd.d/proftpd service ftp { flags = REUSE socket_type = stream instances = 10 wait = no user = root server = /usr/local/proftpd/sbin/in.proftpd log_on_success = HOST PID log_on_failure = HOST disable = no } |
4. xinetd 실행으로 proftpd 데몬 확인
/etc/init.d/xinetd restart netstat -lnp |

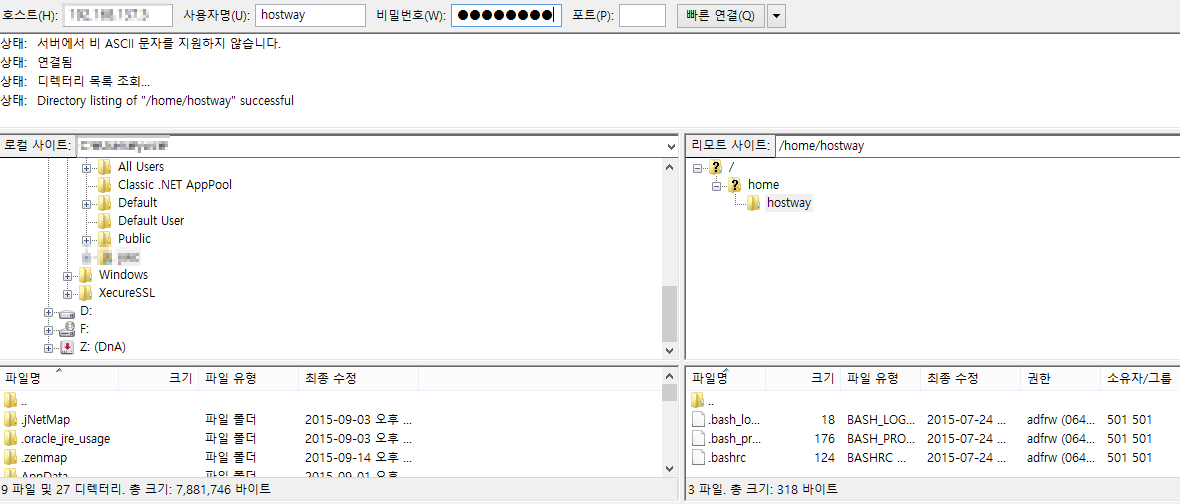
5. 접속되는지 정상적으로 확인하기
- 윈도우상에서 telnet 또는 ftp 프로그램 이용
telnet xxx.xxx.xxx.xxx 21
- ftp 프로그램 이용시 리눅스에서 사용하는 home 계정으로 접속하면 됩니다.
댓글 0
| 번호 | 제목 | 글쓴이 | 날짜 | 조회 수 |
|---|---|---|---|---|
| 366 | 터미널 창으로 메시지 보내기 | 호스트웨이 | 2008.05.19 | 44219 |
| 365 |
리눅스 Sleep 명령어
| 호스트웨이 | 2012.08.10 | 42157 |
| 364 | openssl 간단 사용법 | 호스트웨이 | 2008.12.10 | 41115 |
| 363 |
특정 계정만 su 명령어 사용
| 호스트웨이 | 2012.05.05 | 39710 |
| 362 | VSFTP 에서 사용하는 port를 변경하기 | 호스트웨이 | 2012.03.23 | 39704 |
| 361 | tcpdump 기본 사용 | sylee | 2008.07.02 | 39641 |
| 360 | yum 사용 팁 | jook | 2008.09.02 | 38918 |
| 359 | VNC rpm 설치해보기 | sylee | 2008.08.07 | 37739 |
| 358 | 커널 파라미터 제어 | 호스트웨이 | 2008.06.25 | 36965 |
| 357 |
yum repository 국내 mirror 설정
| 호스트웨이 | 2012.03.23 | 36902 |
| 356 |
parted를 이용한 2TB 이상의 partitioning
| 호스트웨이 | 2012.05.05 | 35706 |
| 355 | apt-get 간단 사용 방법 | jook | 2008.12.11 | 35261 |
| 354 |
리눅스 원격 접속자 세션 종료
| 호스트웨이 | 2012.06.08 | 34938 |
| 353 | shell 접속은 차단하고 ftp접속만 허용하기 | sylee | 2008.05.20 | 34492 |
| 352 | multitail (다수의 파일을 tail 로 볼 수 있습니다.) | HOSTWAY | 2008.12.04 | 34475 |
| 351 | source rpm 을 사용하여 rpm 패키지 만들기 | jook | 2008.05.28 | 34275 |
| 350 | Fedora8, 9 버전에서 setup -> Network configuration 메뉴가 동작하지 않을때 | jook | 2008.07.23 | 34118 |
| 349 | 데비안 기본 라이브러리 설치 | 호스트웨이 | 2008.06.03 | 33514 |
| 348 | 리눅스에서 fuser 명령어 사용하기 | 호스트웨이 | 2012.06.15 | 33500 |
| 347 | 리눅스에서 fstab을 UUID로 변경 | 호스트웨이 | 2012.08.23 | 32942 |